At a glance
- Use your room measurements to establish the plan; a beautiful image does not establish dimensions.
- Try the live layout builder and finish comparison below, then open a read-only Room Planner snapshot of your chosen example.
- The GIF compares actual measured-plan and 3D captures. The interactive controls calculate geometric gaps, not building-code compliance.
Start with the idea, then measure the room
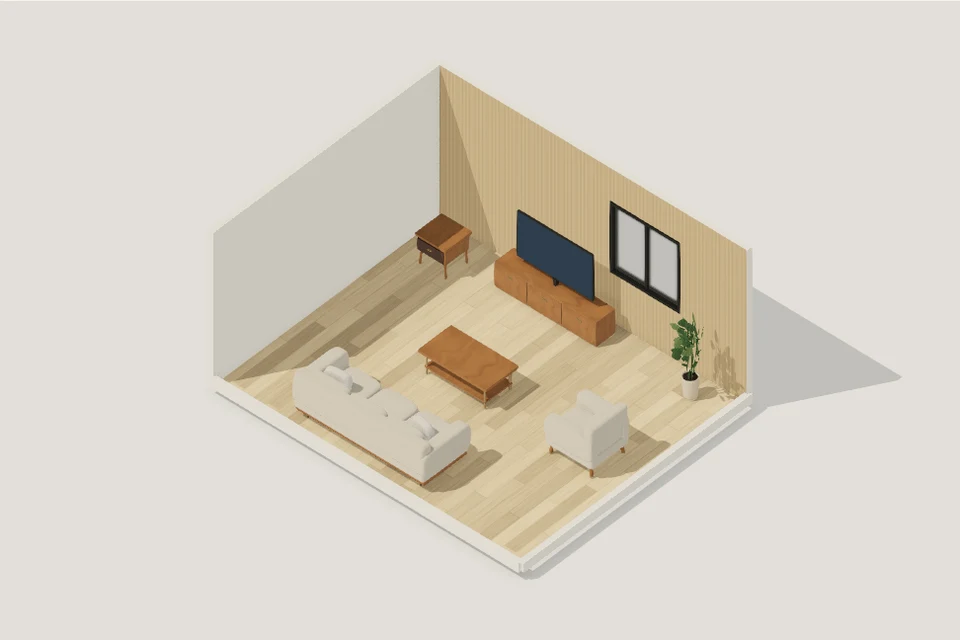
A light sofa, a low timber table, a reading chair and a warm feature wall can give you a clear starting direction. Treat that visual idea as a brief: what needs to fit, where should people sit, and what should they be able to see?
Measure wall lengths, ceiling height and the position of windows and doors before drawing the room. Record fixed features such as radiators, columns and sockets. Keep uncertain dimensions separate from measurements you have checked.
Room Planner works with a measured room outline and furniture footprints. A reference image helps communicate style; it is not automatically converted into accurate, editable geometry by this article.
- Measure the sofa and chair, including their depth.
- Record which way doors open and where drawers need space.
- Keep a route between the entrance, seating and storage in mind.
Read the plan before you look around in 3D
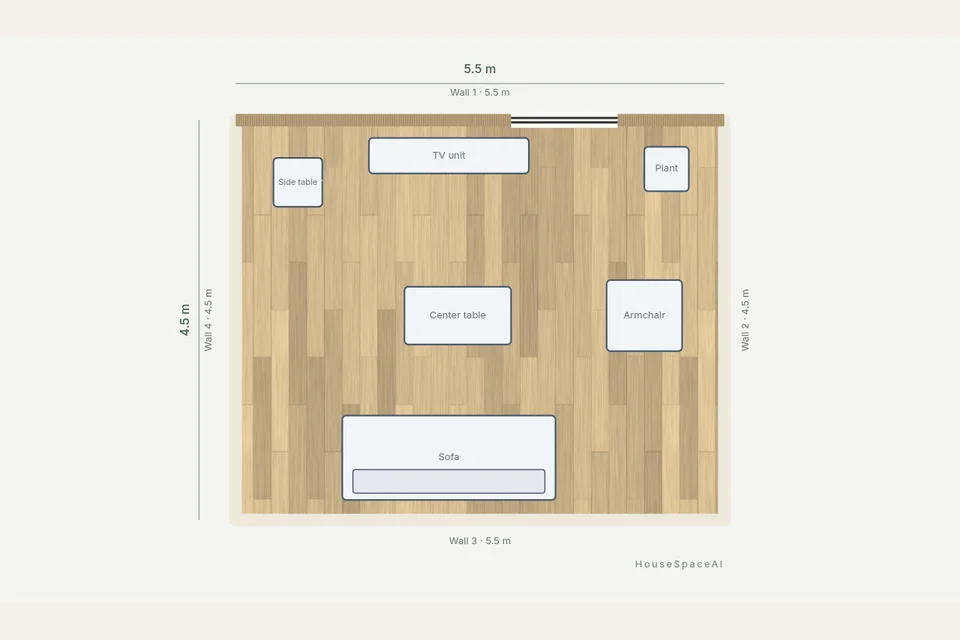
In the illustrated arrangement, the sofa faces the television and the armchair turns toward the coffee table. The plan makes those relationships easy to check. The 3D view adds height, material and a sense of how the pieces sit together.
Use the moving comparison above to connect the two views. It crossfades between actual Room Planner captures of the same sample. It is an editorial sequence, not a claim that a photograph or arbitrary drawing has been automatically reconstructed.
| View | Useful checks |
|---|---|
| Measured plan | Furniture footprints, positions, openings and geometric gaps |
| 3D cutaway | Furniture orientation, height, finishes and visual relationships |
| Your own room | Verified dimensions, daily routes and furniture operation |
Try the layout builder and finish comparison
Change the example room width, room depth and sofa width. Move the sofa toward either side and watch the measured gaps update. The diagram and the public snapshot link use the same furniture positions, dimensions and orientation.
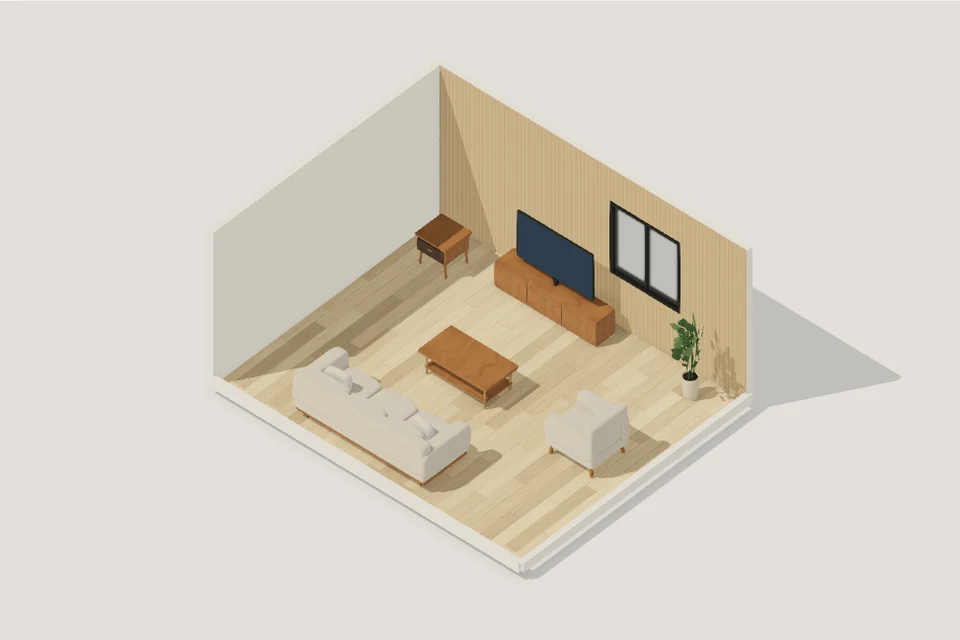
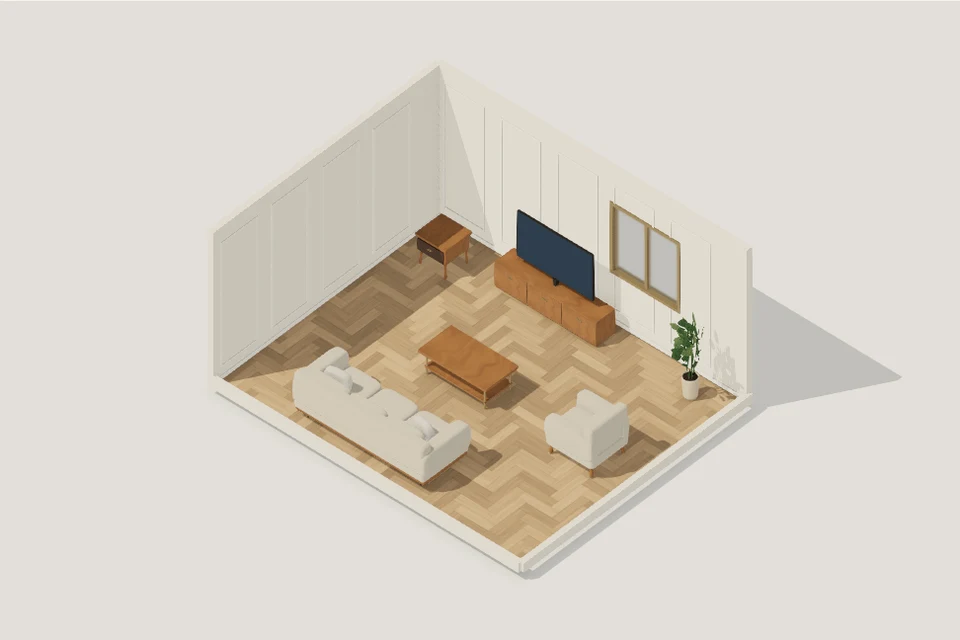
Then move the finish divider to compare two actual Room Planner outputs. Those finish images use the fixed sample, while the snapshot uses the dimensions and finish you select. Keep fit and appearance as two related checks.
Make space for the way you live
Build a measured layout, check the gaps and compare two finishes. Open your chosen example as a public Room Planner snapshot.
Live diagram · metres · furniture footprints shown to scale
The table value is a front-to-back gap. These are geometric gaps in this example, not clearance or accessibility approvals. Account for doors, people, furniture operation and your household’s needs.
View this layout in Room Planner →Opens a public read-only snapshot of your current dimensions, sofa position and selected finish. No sign-in needed. The URL contains this example layout.
2 / Compare finishes on the same layout
Move the divider between Japandi and Modern Classic. These actual Room Planner captures use a fixed 5.5 × 4.5 m sample; their furniture does not resize with the controls above.
 Modern Classic ← → Japandi
Check the routes that a pretty image can hide
A sofa can sit neatly in a rendering while narrowing the route around the coffee table. The article tool reports the distance between the sofa front and the table edge, and the distance from the sofa ends to the room sides. These are geometric distances in a simplified example.
Decide what needs to happen in each gap. Someone may need to walk through it, reach a curtain, clean a window or help another person move around. Check actual furniture operation and applicable requirements before treating any dimension as sufficient.
- Keep the furniture dimensions fixed while comparing positions.
- Check the entrance and every opening in the full Room Planner.
- Look at the seating from more than one 3D angle.
- Review the preferred arrangement with the people who will use it.
Make it your own in Room Planner
Use “View this layout in Room Planner” in the interactive tool to inspect your example without signing in. That opens a read-only snapshot. Its URL contains the example geometry and does not expose a private account project.
To design a room you can edit and save, sign in and open Room Planner. Choose the room shape and dimensions, add doors and windows, then arrange, rotate and resize furniture. Switch to 3D to compare materials and look around the cutaway.
Room Planner is a single-room workflow. Use Studio for a connected house layout. The room preview provides orbit-style inspection; the full-home Studio offers a separate eye-level walk view. Available high-quality rendering depends on your graphics hardware.
Save the version you actually chose
Save an editable room to Projects to return to it. For discussion, download a PNG, SVG or DXF plan or explicitly create a public read-only snapshot. Check your save status before changing devices.
A shared snapshot is a copy of the layout at the time you created the link. Later edits do not change it, and links cannot be revoked. Share a new snapshot when you want someone to review a revised arrangement, and avoid including sensitive layouts.
Questions before you start
- Can I try the room-planning tools without signing in?
- Yes. The article’s layout builder, clearance calculations and finish comparison need no account. Its public Room Planner snapshot is read-only. Sign in to edit and save your own room in the workspace.
- Does the reference image set the room dimensions?
- No. The example starts at 5.5 × 4.5 metres. Enter your own verified measurements; a concept image or rendering does not establish room scale.
- Do the finish images change when I resize the sofa?
- No. The comparison images show the fixed sample in two styles. The live plan and snapshot link reflect the room dimensions, sofa size and finish selected in the tool.
- Does Room Planner provide a first-person house walkthrough?
- The room workflow provides a 3D cutaway you can orbit around. The separate full-home Studio includes an eye-level walk view for connected house layouts.
- Are the displayed gaps accessibility recommendations?
- No. They are geometric measurements in the example. Verify real furniture, openings, daily use and applicable local or accessibility requirements separately.
Sources and review
Prepared by HouseSpace from the current Room Planner workflow, actual room captures and the shared geometry used by the article tools; reviewed 13 November 2026. This is product guidance, not an architectural certification or an independent software review.